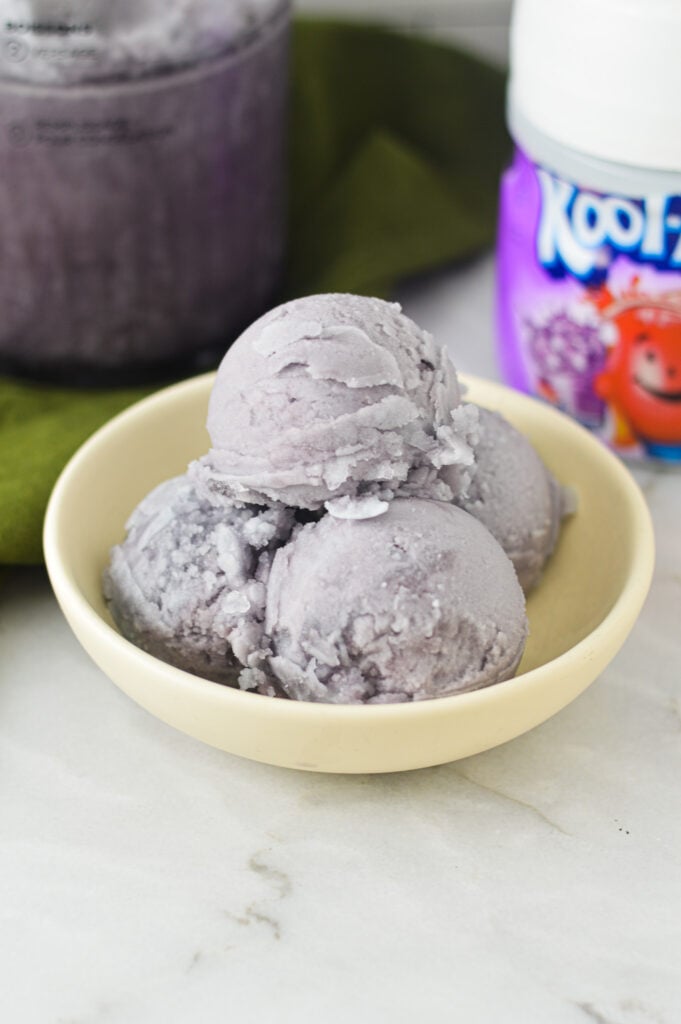
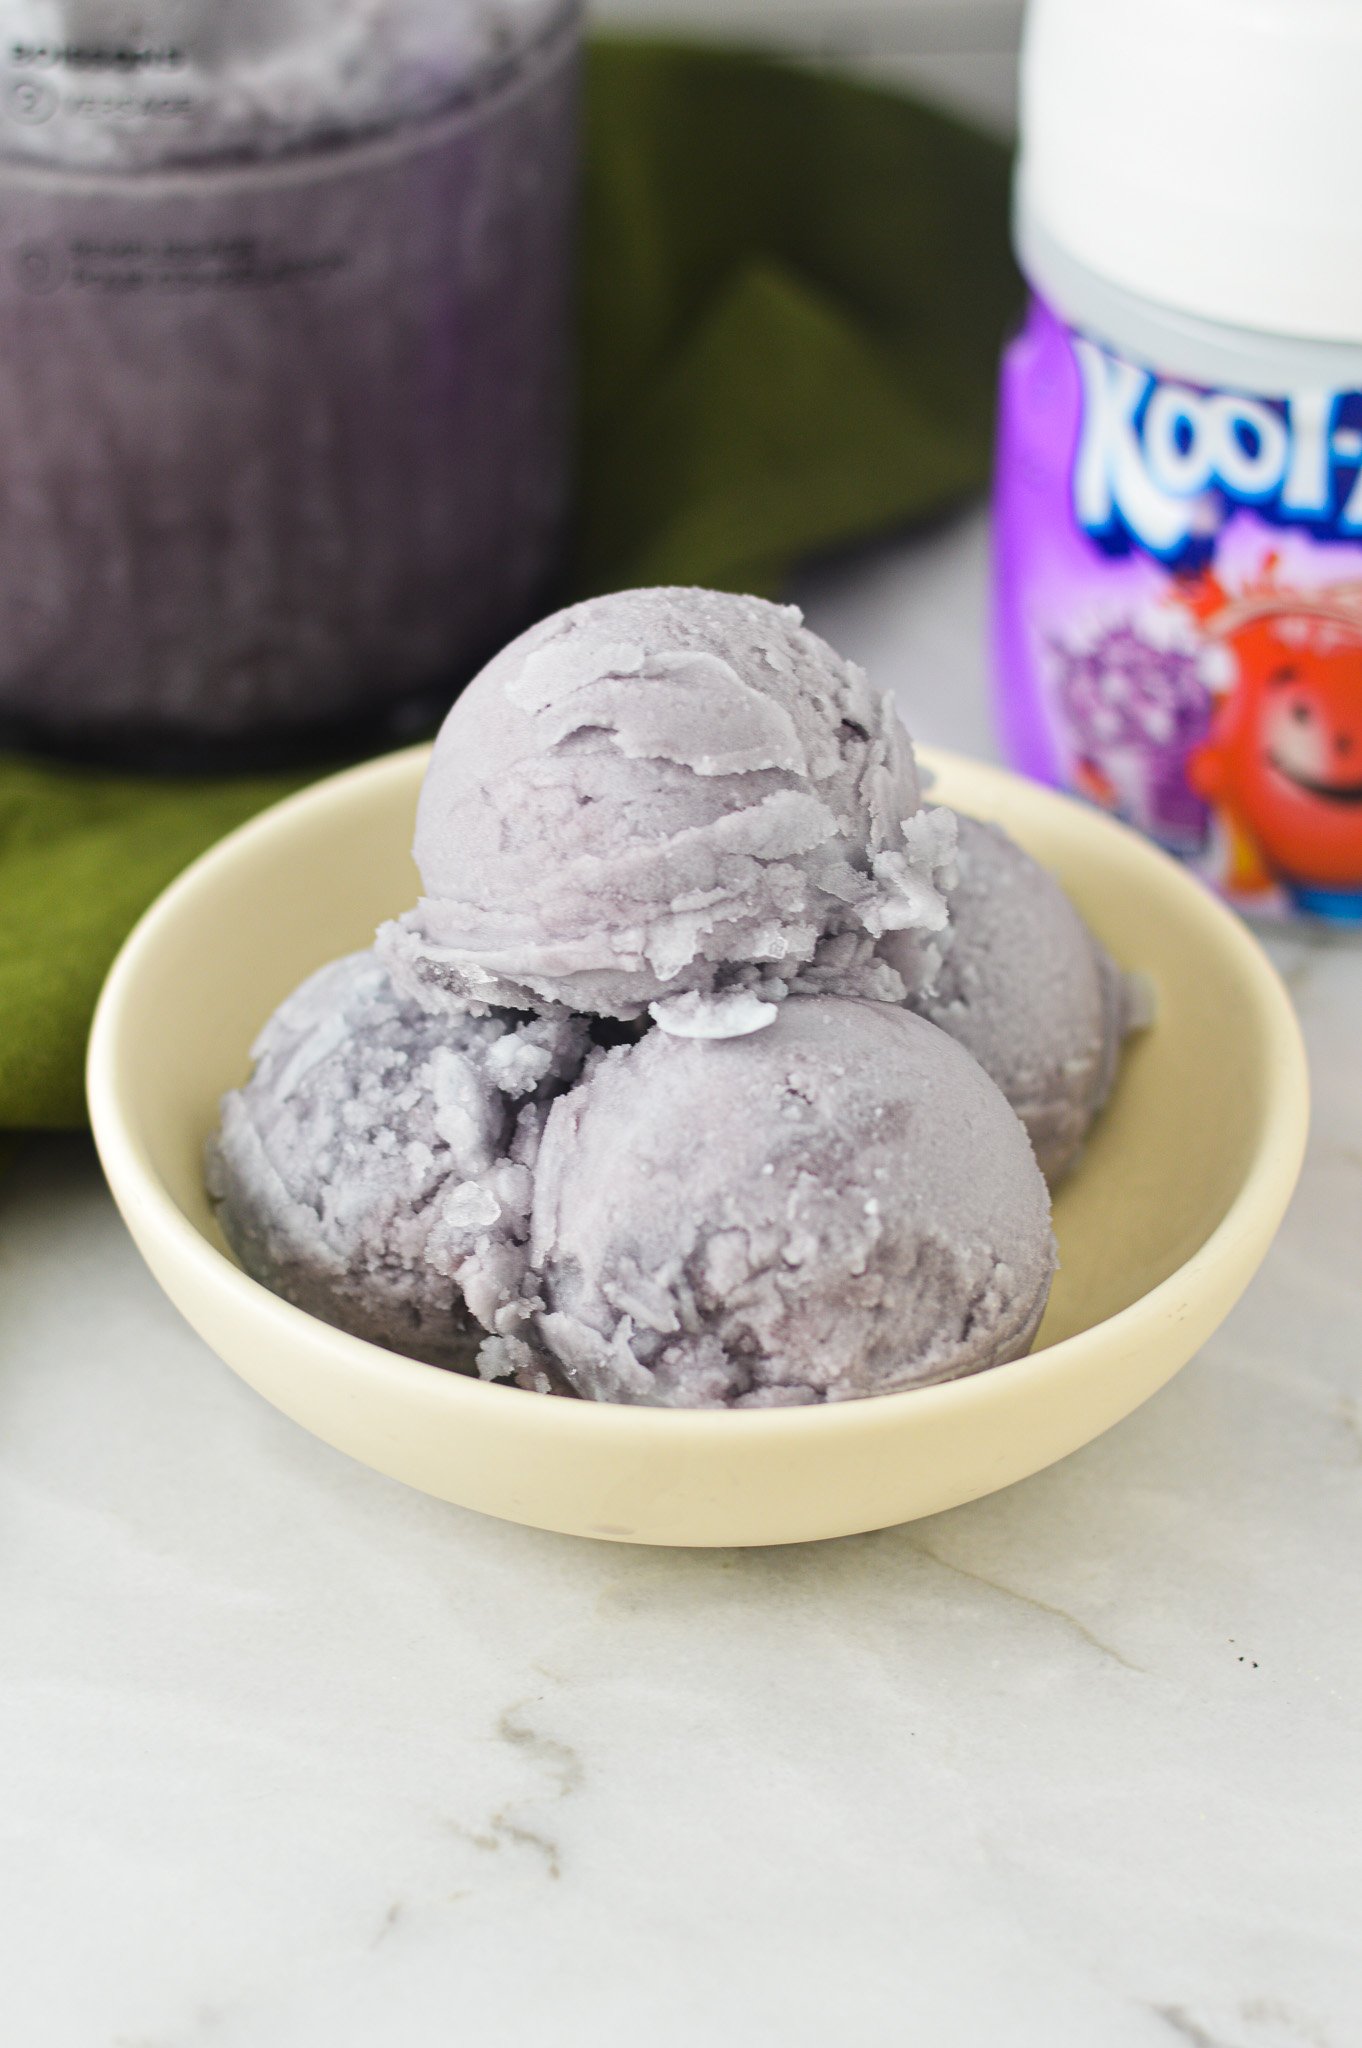
Easy Ninja Creami Kool-Aid Italian Ice recipe. This classic dessert recipe is an easy way to enjoy this sweet treat at home.

Did you get a Ninja Creami for the holidays? Because if you did, get ready for a whole bunch of Ninja Creami ice cream recipes coming your way. I am OBSESSED with my Ninja Creami, and have been loving experimenting with making so many delicious treats these past couple of months.
But before the New Year hits and everyone starts looking for healthy Ninja Creami recipes, let me sneak this one in the small window between Christmas and the New Year.
Just a warning, this Ninja Creami recipe needs a Ninja Creami Deluxe, as that is the only one with an Italian Ice function. The deluxe version can make so many things the original one can’t, such as homemade slushies, frozen drinks, Italian ice, frozen yogurt and Creamiccinos, while also having the other functionalities the original has such as ice cream & gelato. Another difference is that the Ninja Creami Deluxe pint is a little bigger than the original. I will be making quite a bit of Ninja Creami Deluxe recipes in the New Year as well, but I will also try to make regular Ninja Creami recipes as well.
I made this recipe so many times during the summer months. This Ninja Creami Kool-Aid Italian Ice is perfect on a hot summer day, but it is also great year round. My son requests it so much, he even knows how to make it. This will be one of your favorite recipes to make in your Deluxe Ninja Creami because it is so dang easy.

Ninja Creami Kool-Aid Italian Ice Ingredients
You just need 2 simple ingredients to make this refreshing treat. All you need is:
- kool-aid powder (you can also buy kool-aid packets)
- hot water
Equipment
- Deluxe Ninja Creami Ice Cream Maker – unfortunately, the regular Ninja Creami does not include the Italia Ice function.
- Ninja Creami Pint Container

Tips
Use your favorite flavor of Kool-Aid. I love grape, but you can switch it out for any flavor you like! You can find so many flavors in the drink aisle of your local grocery store.
Don’t be afraid to use the re-spin function. If you don’t like too many ice crystals in your Italian ice and it is powdery after the original spin, press the Re-Spin button. But I have always found it to be the perfect texture after the first spin.
Make Snow Cones. Since Italian ice is very similar to snow cones, just put your Italian ice in a paper cone and call it a snow cone! You could also add some more flavored syrup to make it more reminiscent of a snow cone. I have tried cotton candy syrup, and it is so good!
Storage: If you can’t finish your Italian ice, store the leftovers in the Ninja pint container. When ready to use, place in the Ninja Creami and process as before. I would not recommend storing in ice cream storage containers, as you will not be able to scoop it after it has hardened.

More Easy Ninja Creami Recipes
Like this Ninja Creami Kool-Aid Italian Ice? Then you will love some of the best Ninja Creami recipes that I have on my site:
- Nnija Creami Biscoff Ice Cream – This creamy ice cream is made with half and half instead of heavy cream, making it a healthier ice cream option.
- Ninja Creami Mint Oreo Ice Cream – This ice cream tastes like a blizzard, but so much healthier.
- Ninja Creami Chocolate Chip Protein Ice Cream. – Even though it is made with whole milk instead of cream, this healthy ice cream is just as creamy as regular ice cream.
And if you try this recipe, let me know! Rate it, leave a comment and tag me with #atasteofmadness on Instagram! I always love seeing what you are creating!


Ninja Creami Kool-Aid Italian Ice
Ingredients
- 1/2 cup Kool-Aid
- 2 1/2 cups hot water
Instructions
- Mix together the Kool-Aid and water in the Ninja Creami pint until combined.
- Cover and freeze for at least 24 hours.
- Place the frozen pint into the Ninja Creami. Set to Italian Ice.
- Once done, scoop into bowls and enjoy!


Leave a Reply